

Rosemary and garlic focaccia with flaky sea salt
Few breads offer such a generous return for simple work as focaccia. The dough is mixed with olive oil, left to rise slowly, pressed into a tray, and finished with fragrant rosemary, roasted garlic notes and a scattering of crisp sea salt. Its golden crust and airy centre make it equally welcome at a weekend lunch, a shared dinner table or a picnic beside the water.
This rosemary and garlic focaccia relies on time rather than complicated technique. A wet dough may feel unfamiliar at first, especially if you are used to firm sandwich bread, but that extra moisture creates the open, tender crumb associated with a good Italian-style flatbread. Oil in the dough and pan gives the base its characteristic richness.
For Australian kitchens, the recipe works well with ordinary supermarket baker’s flour or bread flour. Fresh rosemary is easy to find in herb pots, suburban gardens and local farmers’ markets, while Australian extra-virgin olive oil brings peppery depth to the finished bread. In warmer places such as Brisbane or Perth, the dough may rise faster than the timings suggest.
The method suits the relaxed spirit of a Melbourne brunch, a Sydney picnic or a long lunch in the Adelaide Hills. Serve it warm with soup, slice it for sandwiches, or place it in the centre of the table with dips and grilled vegetables. The most important ingredients are patience, a well-oiled tray and a light touch.
Ingredients that make the bread memorable
Use 500 grams of baker’s flour, 400 grams of lukewarm water, 7 grams of instant dried yeast, 10 grams of fine sea salt, 60 millilitres of extra-virgin olive oil and a teaspoon of honey or caster sugar. The small amount of sweetener helps the yeast begin working, though it will not make the bread taste sweet.
For the topping, prepare three or four garlic cloves, two generous tablespoons of rosemary leaves and another 40 to 50 millilitres of olive oil. Flaky sea salt should be added at the end, when it can remain in distinct, delicate crystals. Maldon-style flakes or another Australian sea salt both work well.
- Baker’s flour for strength and chew
- Extra-virgin olive oil for flavour and tenderness
- Fresh rosemary and garlic for the topping
- Flaky sea salt for a crisp finish
Fresh garlic gives the strongest flavour, but gently warming the cloves in olive oil first makes them sweeter and less sharp. Take care not to brown them, as burnt garlic can turn bitter during baking. Rosemary can be chopped finely for an even flavour or left in small leaves for a more rustic appearance.
The ingredients also leave room for seasonal variation. In cooler months, add a little roasted pumpkin after baking; in summer, serve the bread with ripe tomatoes and basil. Bia’s wider collection at Rich and Sweet by Bia Rich is a useful source of the same kind of generous, produce-led cooking.
Making a supple, well-hydrated dough
Place the flour, yeast, honey and water in a large bowl, then mix with a wooden spoon or sturdy spatula until no dry patches remain. Rest the mixture for 10 minutes before adding the fine salt and 30 millilitres of olive oil. This short pause gives the flour time to absorb water and makes the dough easier to develop.
Work the dough in the bowl by lifting one side and folding it over the centre. Turn the bowl and repeat this motion several times. Alternatively, knead it on a lightly oiled bench for five to seven minutes. Avoid adding extra flour unless absolutely necessary; a sticky dough is expected, and too much flour will produce a heavy focaccia.
The dough should become elastic and glossy, though it will remain softer than a loaf dough. Oil your hands rather than dusting them with flour when handling it. A dough scraper is especially useful for gathering the mixture without tearing its developing structure.
If your kitchen is cool, lukewarm water will help the yeast start steadily. During an Australian heatwave, use cooler water and shorten the rise if the dough expands quickly. Dough responds to temperature, not the clock, so look for a soft, inflated mass with bubbles beginning to show around the edges.
Giving the dough time to rise
Pour a little oil into a clean bowl and place the dough inside, turning it once to coat the surface. Cover with a reusable lid, plate or lightly oiled piece of cling film. Leave it in a draught-free place for 60 to 90 minutes, or until it has nearly doubled in size.
For deeper flavour, refrigerate the covered dough for 12 to 24 hours after mixing. The slow fermentation develops a more complex taste and makes the bread especially convenient for entertaining. Bring it out of the refrigerator about 60 to 90 minutes before shaping so it can lose its chill.
A warm cupboard may be perfect in Hobart during winter but too active in Darwin or Brisbane during humid weather. Watch the dough rather than waiting for a precise doubling. If it looks puffy, trembles when the bowl is moved and contains visible air pockets, it is ready for the next stage.
The long rise is also a chance to prepare the topping. Strip the rosemary from its stems, slice or crush the garlic, and combine both with a little olive oil. Leaving this mixture for half an hour allows the oil to take on the herb’s aroma.
Shaping and making the dimples
Generously oil a metal baking tray, approximately 23 by 33 centimetres. A darker tray will brown the base more quickly, while a light-coloured tray gives a gentler bake. Tip the risen dough into the tray and use oiled fingertips to ease it towards the corners.
Do not force it if the dough springs back. Let it rest for 10 minutes, then stretch it again. This brief pause relaxes the gluten and helps the dough fill the tray without losing its air. The surface should be uneven and pillowy rather than perfectly smooth.
Leave the dough uncovered for another 30 to 45 minutes. Just before baking, drizzle over the rosemary and garlic oil. Press your fingertips firmly into the dough from edge to edge, creating the familiar dimples. Push down far enough to form pockets, but do not flatten the entire dough or squeeze out every bubble.
Scatter the garlic and rosemary evenly, then add a restrained pinch of flaky salt. The bread will lose moisture as it bakes, concentrating the saltiness, so it is better to begin lightly. A final thread of olive oil across the top encourages a bronzed, almost fried crust.
Baking a crisp-edged, airy focaccia
Heat the oven to 220°C conventional or 200°C fan-forced. Let it preheat fully, because a properly hot oven gives the dough rapid lift and helps set the crust before the interior dries out. Bake on the middle shelf for 22 to 28 minutes.
The focaccia is ready when the top is a deep golden brown, the edges are crisp and the underside sounds hollow when tapped. If the surface colours too quickly, loosely cover it with foil for the final few minutes. If the bottom remains pale, move the tray to a lower shelf towards the end.
- Look for a deeply golden top
- Check that the edges pull slightly from the tray
- Tap the base for a hollow sound
- Cool briefly before slicing
Brush the hot bread with another little spoonful of olive oil if you want a softer, glossier crust. Leave it in the tray for five minutes, then transfer it to a rack. Cutting immediately can compress the crumb and send steam into the crust, so allow at least 15 minutes before serving.
For an especially crisp base, place the empty tray in the oven while it heats, then carefully oil it and add the dough. This method requires confidence when handling hot metal and is best avoided if you are likely to stretch the dough unevenly. A room-temperature tray remains the more forgiving option.
Serving it with Australian produce
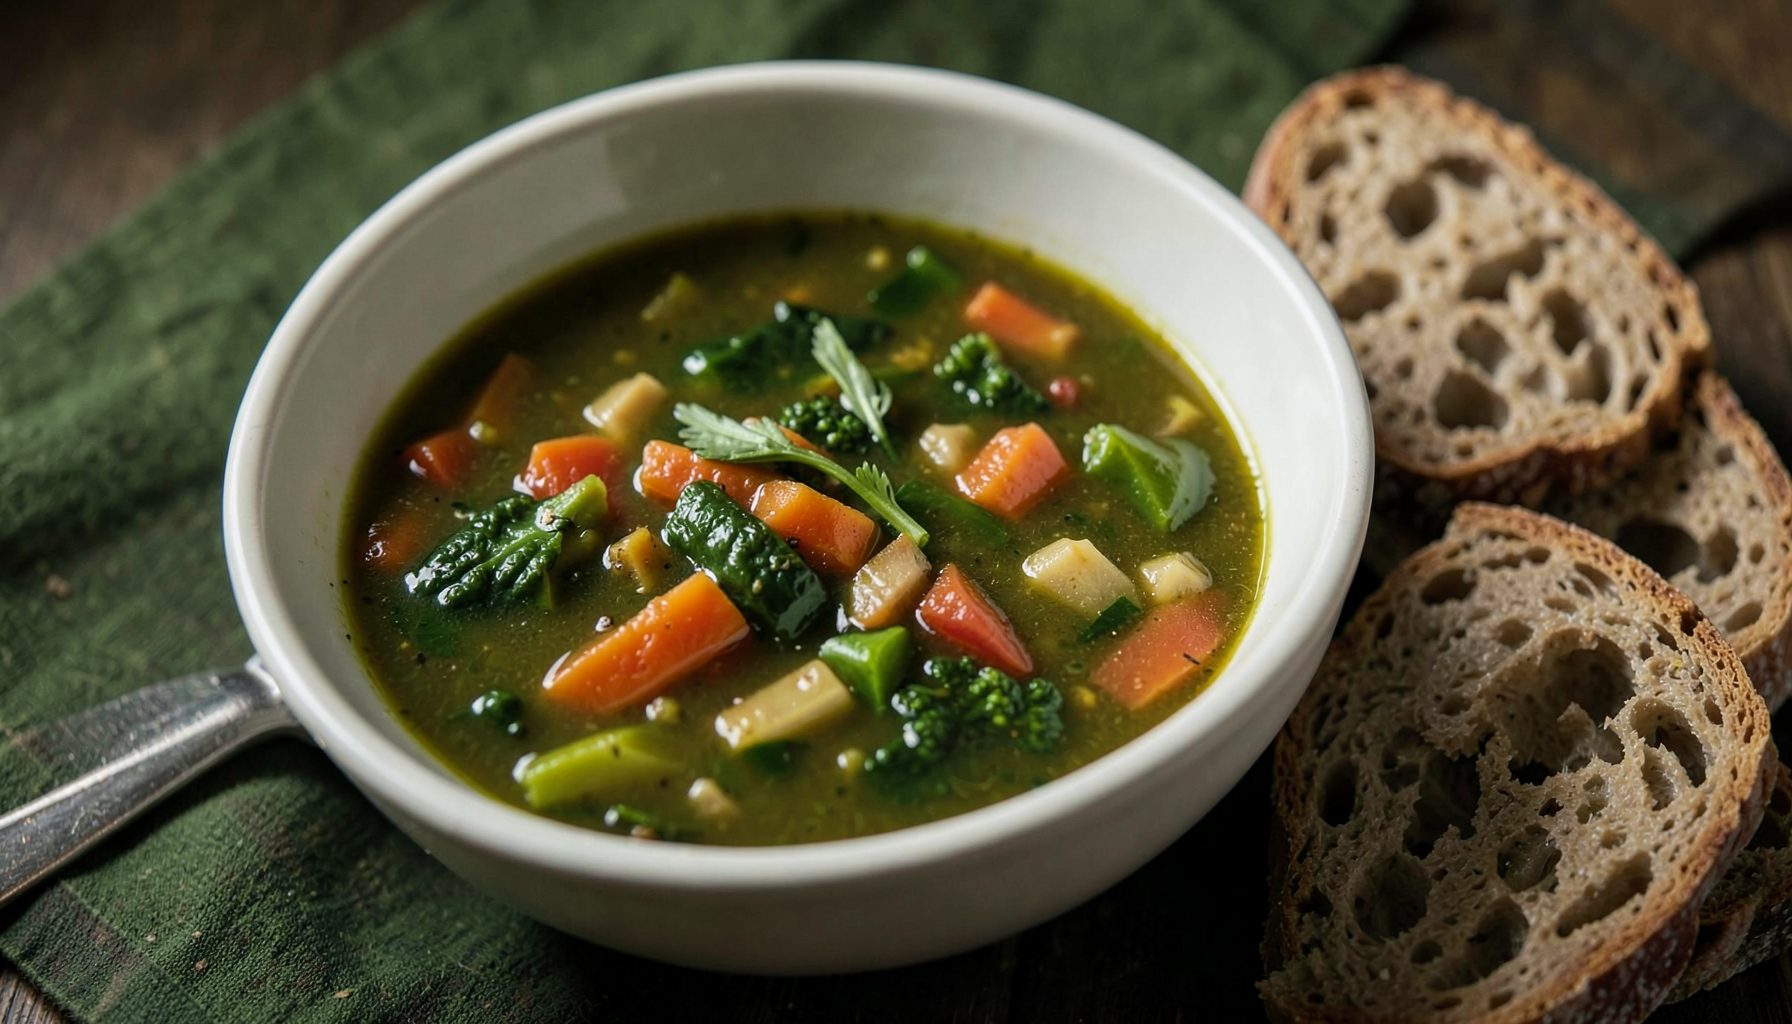
Warm slices are excellent alongside tomato soup, minestrone or a bowl of beans. For a summer spread, arrange the bread with marinated artichokes, olives, cucumber, grilled zucchini and a sharp feta dip. At a barbecue, it can replace dinner rolls and is sturdy enough for mopping up pan juices.
A chilled glass of Vermentino, Pinot Gris or a dry Australian Riesling suits the olive oil and herbs. For a red pairing, choose a light-bodied Grenache or young Sangiovese rather than a heavily oaked wine. The bread also works with sparkling wine at a birthday lunch or a relaxed afternoon gathering.
Use the focaccia as the base for a pressed sandwich filled with roast capsicum, mozzarella and rocket. In Sydney, it would travel well to a harbour-side picnic if packed after cooling; in Melbourne, thick slices make a satisfying brunch accompaniment with soft eggs. Serve it within a few hours for the best contrast between crisp crust and tender centre.
When planning a dessert-led meal, the savoury bread can balance a fruit finish. A rustic apple and blackberry galette brings buttery pastry and tart fruit after the salty focaccia, particularly when apples and blackberries are at their best.
Storing, reheating and adapting the loaf
Focaccia is best on the day it is baked, but leftovers can be wrapped in a clean tea towel and kept at room temperature for up to two days. Avoid sealing it while still warm, as trapped steam softens the crust. For longer storage, cut it into squares, wrap well and freeze for up to two months.
Reheat pieces in a 180°C oven for six to eight minutes. The crust will revive, and the crumb will become pleasantly tender again. A microwave is quick but makes the bread soft, so use it only when speed matters. Frozen slices can go straight into the oven with a few extra minutes of heating time.
The basic dough welcomes additions, provided they are not too wet. Try black olives, caramelised onion, sliced potato or a little grated parmesan. Add fresh vegetables after baking when possible, especially in hot weather, because tomatoes and leafy herbs can release moisture and interfere with the crust.
For more ideas about building flavour from pantry ingredients, Indian cooking ideas can offer inspiration for serving the bread with spiced lentils, vegetable stews or aromatic dips. The focaccia remains Italian in character, but its airy texture makes it a versatile companion for many cuisines.
A successful bake comes down to a few quiet habits: measure the water accurately, keep the dough moist, oil the tray generously and allow enough time for fermentation. Once those details become familiar, the bread becomes an easy staple rather than a special project. Fresh from the oven, its rosemary fragrance, mellow garlic and glittering salt make even a simple meal feel carefully considered.